🙋♂️ How I created a Swift CLI tool to select the winners for the August Giveaway 🏖️

SwiftUI Views Mastery
The most COMPLETE visual reference picture book on SwiftUI Views. Layout, Stacks, Grids, Controls, Navigation, Image Modifiers ... and a lot more. Grab it now with 15% off!
This message is brought to you by a sponsor who helps keep this content free for everyone. If you have a moment, check them out - your support means a lot!
Welcome to the 13th issue of the iOS Coffee Break Newsletter 📬.
Earlier this month, I announced a giveaway for all newsletter subscribers, offering a chance to win one of three copies of SwiftUI Picture Books by Big Mountain Studio. When I began learning SwiftUI, the SwiftUI Views Mastery book was instrumental in helping me quickly grasp the framework and best practices.
A huge thanks 🙏 to Mark for generously providing these copies and for offering valuable resources to the iOS community.
To select the winners of the newsletter's August Giveaway 🏖️, I built a CLI tool in Swift called giveawaypicker. This tool pulls my subscriber list from the database, randomly selects three emails, and displays them. In this issue, I explain how to use GitHub Actions to automate the process of building the executables for macOS and publishing them as a GitHub Release.
The issue is divided into two parts: the first covers the scripts for building and bundling the binaries, and the second details a GitHub Actions workflow that executes these scripts.
I chose not to delve into the code that retrieves my subscribers list from the database and selects three random emails since it's essentially just a GET request followed by the selection of three random items. However, if you are interested, here is the code.
Script: Build for macOS
After I have written all the code, I created a directory named scripts and inside it, created a script named build-macos.sh. These were the commands to do so:
mkdir scripts
touch build-macos.sh
Then, I added the following lines to the file.
#!/bin/sh

set -e

swift build -c release --product giveawaypicker
BUILD_PATH=$(swift build -c release --product giveawaypicker --show-bin-path)
echo -e "\n\nBuild at ${BUILD_PATH}"

DESTINATION="builds/giveawaypicker-macos"
if [ ! -d "builds" ]; then
    mkdir "builds"
fi

cp "$BUILD_PATH/giveawaypicker" "$DESTINATION"
echo "Copied binary to $DESTINATION"
The script compiles the single executable target in release mode.
It then uses the --show-bin-path argument to determine the location of the generated binary.
Next, it defines a destination path for the executable, creates the necessary builds folder if it doesn't already exist, and finally, uses the cp command to copy the binary to that destination.
Before you test the script locally, ensure it has executable permissions by setting them up:
chmod +x scripts/build-macos.shNow, I can run it to check it builds and stores the binary in the correct location. This is the command to do so:
./scripts/build-macos.shAfter running the command, I can check that the binary was created at the specified location: /builds/giveawaypicker-macos.
Writing the GitHub Actions workflow
Next, I needed a GitHub workflow with the following characteristics:
- Be triggered when creating a new release in your repository.
- Execute the previous script in a macOS machine.
- Upload the build to the release page.
I first started by creating a workflow file in the .github/workflows folder:
mkdir -p .github/workflows
touch .github/workflows/build-and-release.yml
Then, I added the following lines to the file.
on:
  release:
    types: [published]

name: Build Release Artifacts
jobs:
  build-macos:
    name: Build macOS Executable
    runs-on: macos-latest
    steps:
      - name: Checkout
        uses: actions/checkout@v3
      - name: Build macOS binary
        run: scripts/build-macos.sh
      - name: 'Upload macOS Build Artifact'
        uses: actions/upload-artifact@v4
        with:
          name: giveawaypicker-macos
          path: builds/giveawaypicker-macos

  upload:
    name: Upload release artifacts
    runs-on: ubuntu-latest
    needs: [build-macos]
    steps:
      - uses: actions/download-artifact@v4
        with:
          path: .
      - name: List downloaded files
        run: ls -R
      - name: Upload to Release
        uses: softprops/action-gh-release@v2
        with:
          token: ${{ secrets.GITHUB_TOKEN }}
          tag_name: ${{ github.event.release.name }}
          files: ./*/*
          fail_on_unmatched_files: true
To wrap the workflow, I began by setting up a job to build the macOS binary.
I used the checkout action to clone the repository onto the machine, followed by running the build-macos.sh script.
Finally, I applied the upload-artifact action to store the resulting binary within the workflow.
Publishing a Release
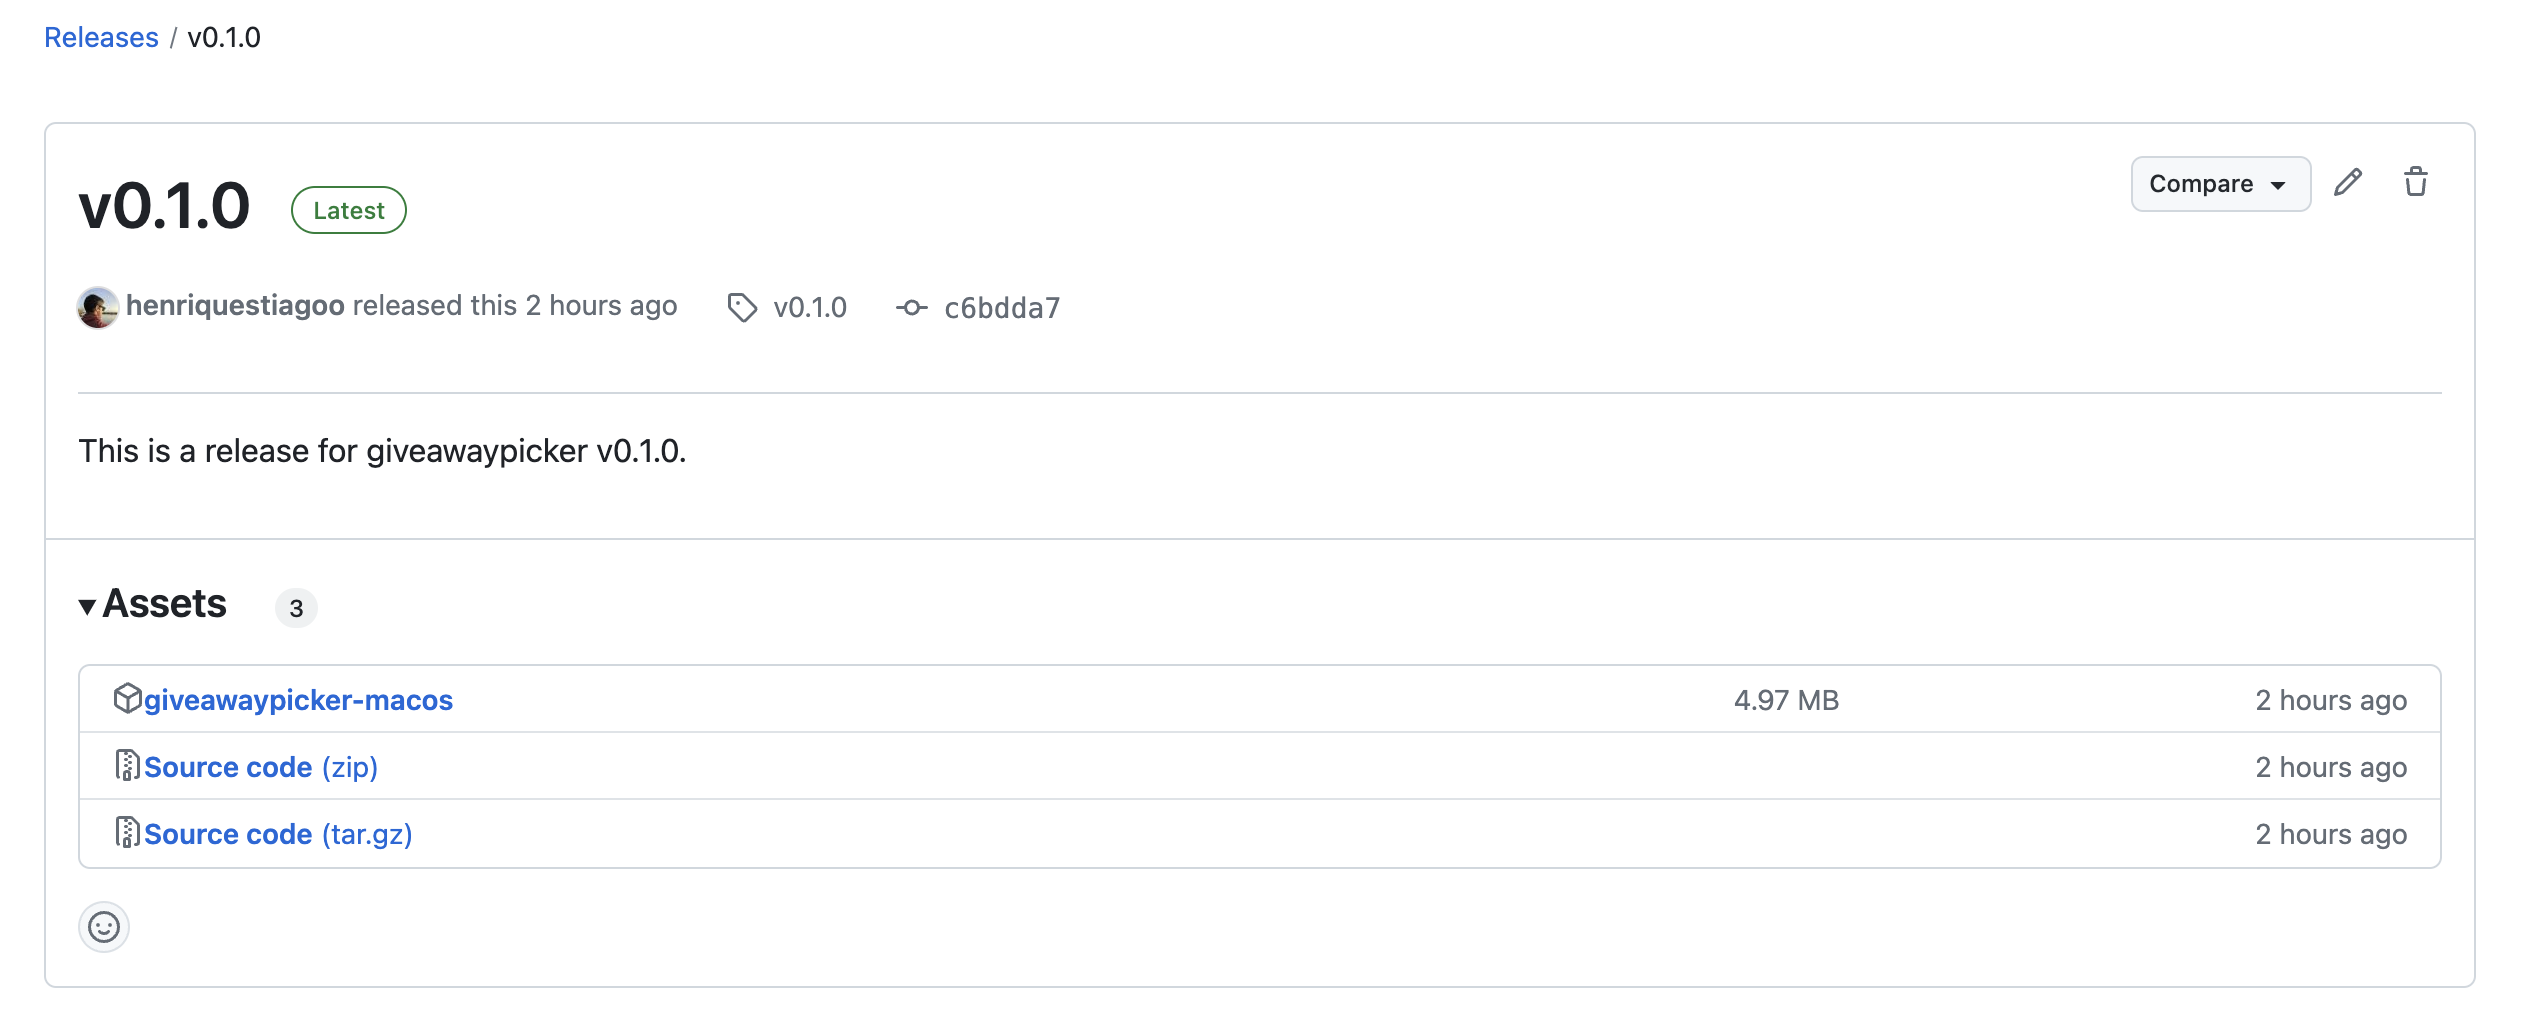
After I commited the scripts and workflow file and pushed the changes, I could then create a new release. To do this, I went to the GitHub repository, clicked on "Releases" on the right side, and selected "Create a new release". From there, generated a new tag, added a title and description for the release.
After some time, the binary appears as an asset in the release!
Feel free to clone the repository, use SPM to build it and run the executable:
swift run giveawaypicker -i <supabase_reference_id> -k <supabase_key>At the end of the month, I will run the tool and announce the winners 🎉. I will reach out to the winners via email, so stay tuned!
Now it's time to dive into some iOS development topics submitted by the community. Here are this week's highlighted resources. Hope you enjoy 🙌.
✍️ Writing great release notes doesn’t need to be hard
We have all resorted to the classic "Bug fixes and performance improvements" in our app release notes. However, it is crucial to make our release notes clear and consistent! They should reflect a unified tone, be grammatically correct, prioritize changes based on user impact, and guide users on any necessary follow-up actions.
I highly recommend checking out Eli's article for helpful tips on improving your release notes and better informing your users about what's been fixed or enhanced.
🔎 SwiftUI Previewable Macro
Apple introduced the Previewable macro in iOS 18. This macro simplifies and speeds up the process of previewing views by automatically creating the boilerplate wrapper view with State bindings.
In this article from Use your Loaf, you can learn how to replace that boilerplate wrapper code with the Previewable macro.
🐙 Cross-Platform Swift: Building a Swift app for the browser
Point Free's latest series focuses on cross-platform Swift, starting with a basic guide on running a simple Swift app in a browser. This week, they released a blog post detailing how they recreated their counter feature in Swift, running it in the browser using WebAssembly.
WebAssembly is a binary format that allows running languages like Swift directly in the browser, not just JavaScript. For more details, I highly suggest you to check out their article and watch the free episodes in the series.
👨💻 Dev Conversations: Andrew Barba
Natan has introduced a new series on SwiftToolkit titled "Dev Conversations" featuring brief interviews with developers focused on the Swift server and tooling ecosystem. This month, he spoke with Andrew about his early career, transitioning from iOS development to backend work, and the recent release of Swift Cloud.
If you are interested in the Swift ecosystem, this series is worth following for valuable insights and perspectives from other developers.

