🪆 Adapting Your App For Multi-Platform Support Using SwiftUI's NavigationSplitView ⚡️
Your App can be on the App Store next week
Generate iOS app boilerplate code with everything you need: complete auth flow, paywalls with one-click, easy app analytics and so much more. Get now for 40% off (BLACK FRIDAY SALE).
This message is brought to you by a sponsor who helps keep this content free for everyone. If you have a moment, check them out - your support means a lot!
Welcome to the issue #23 of the iOS Coffee Break Newsletter 📬.
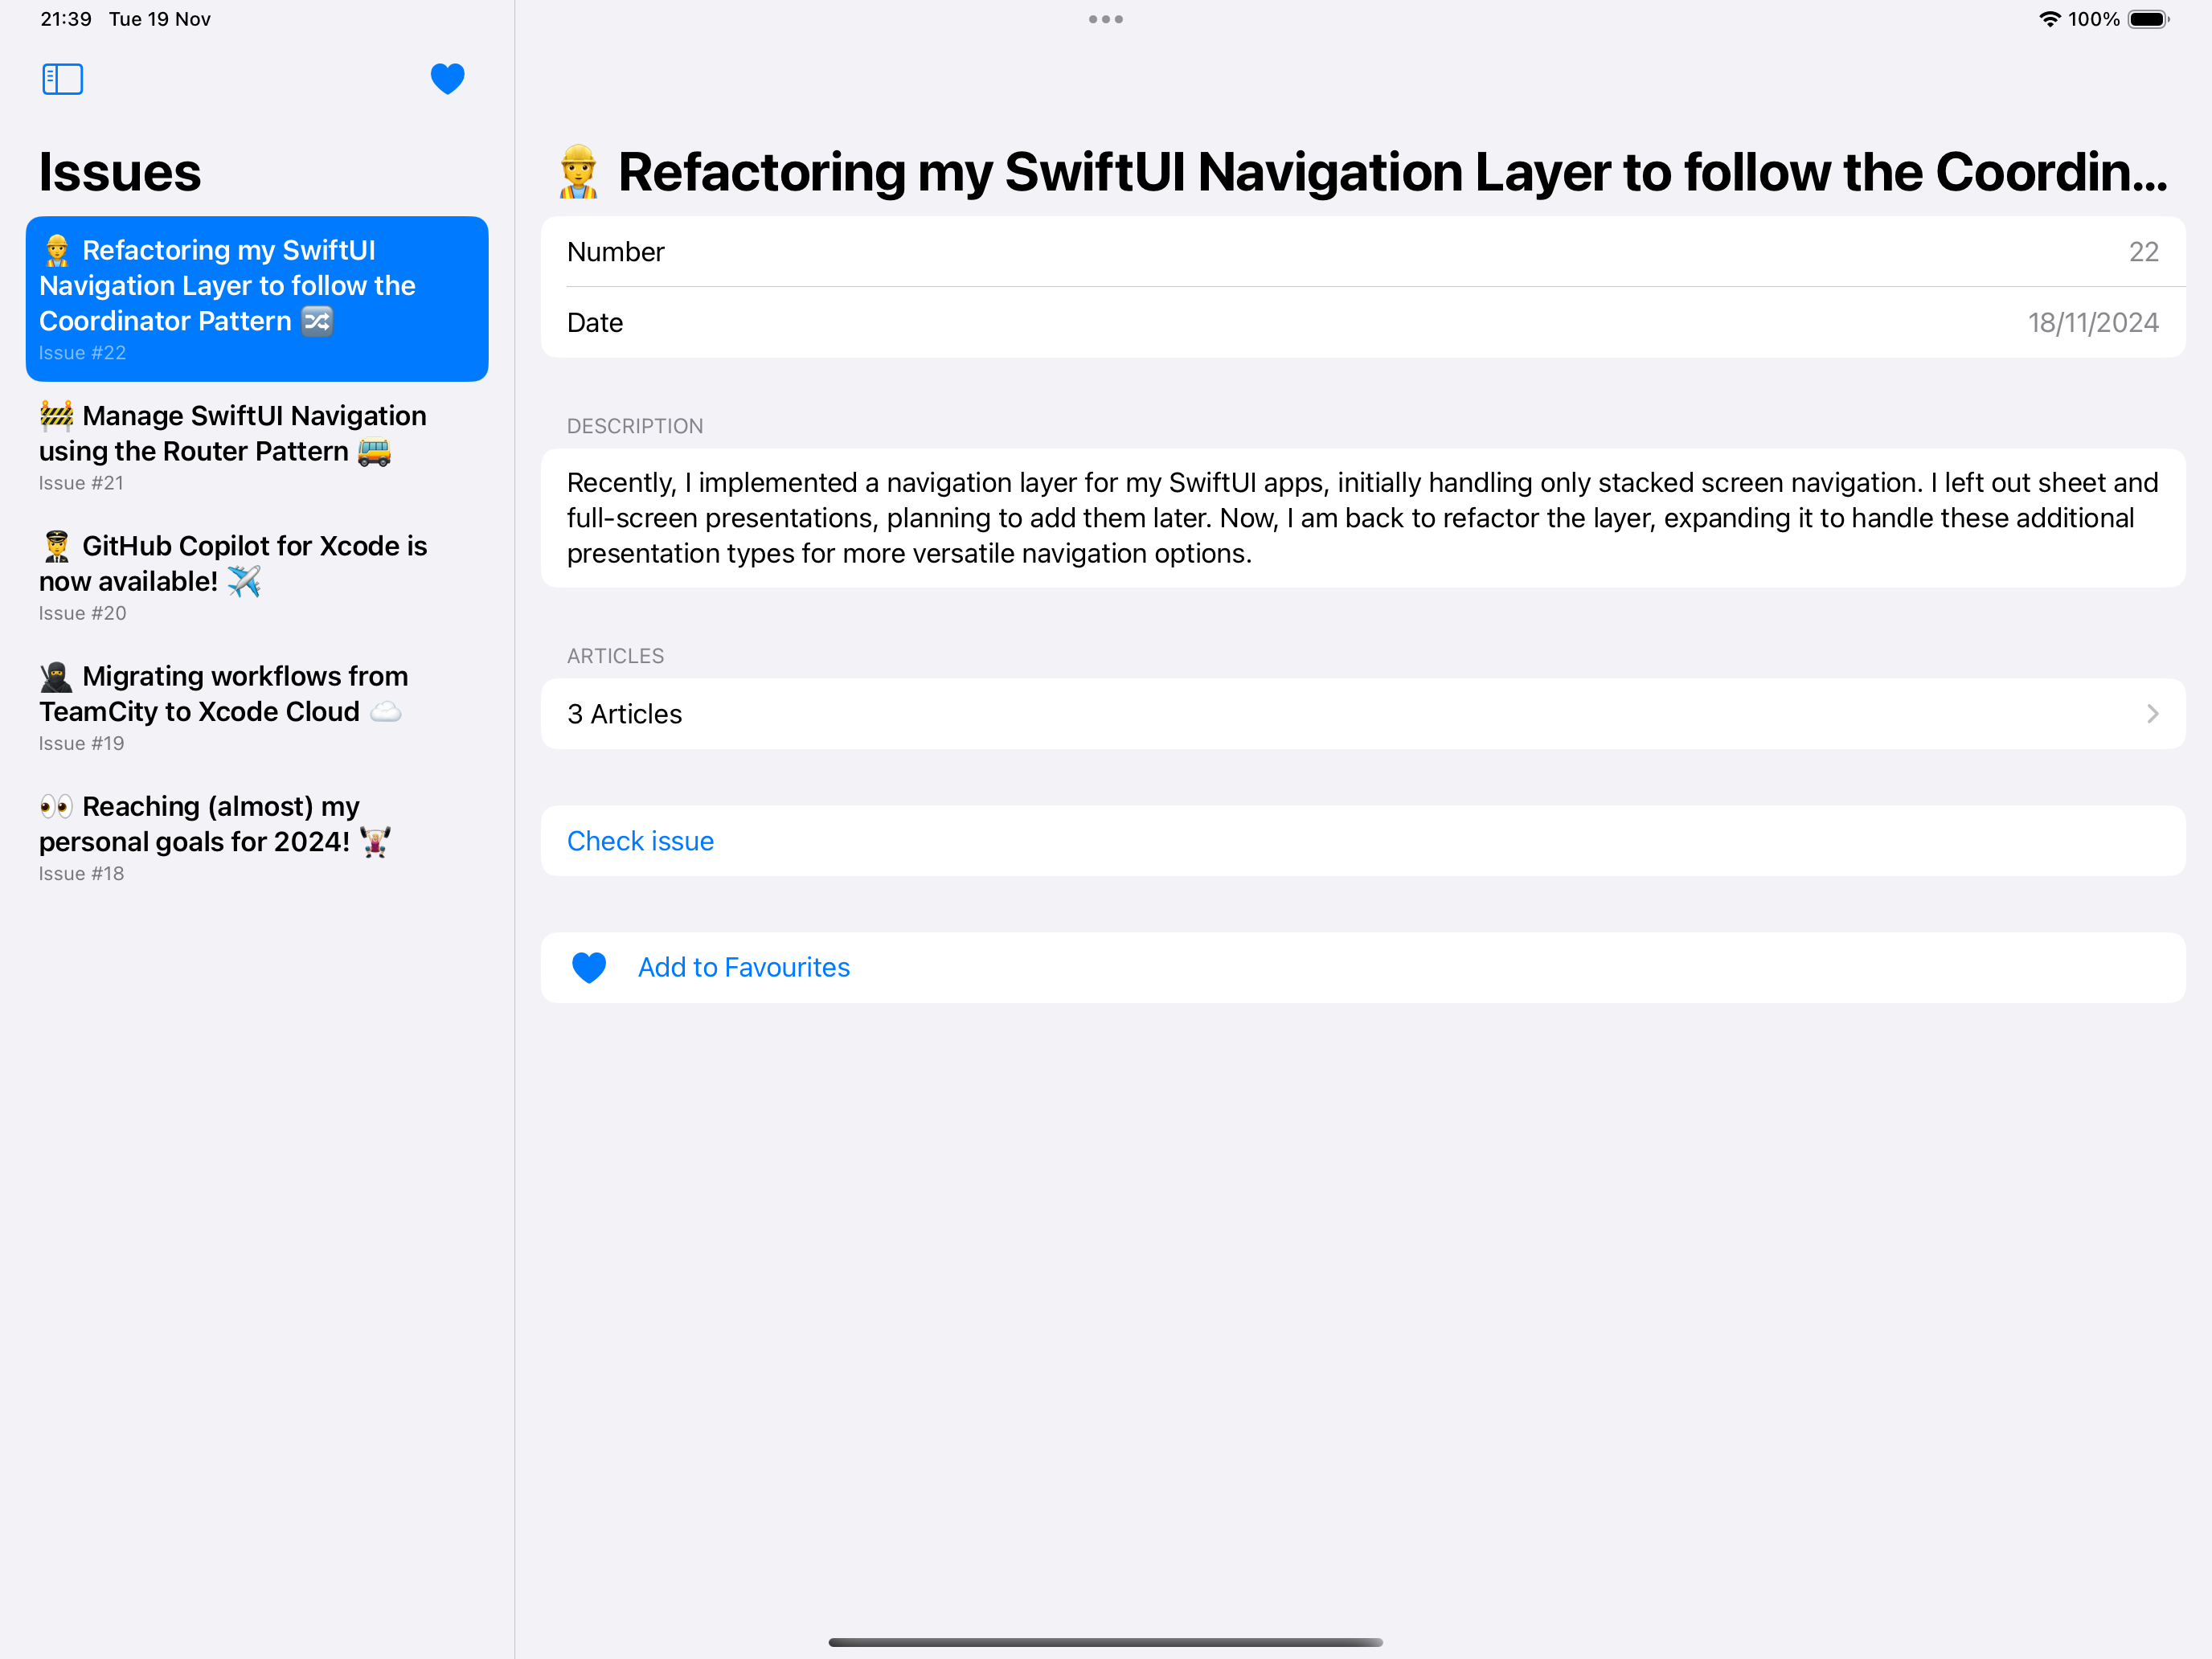
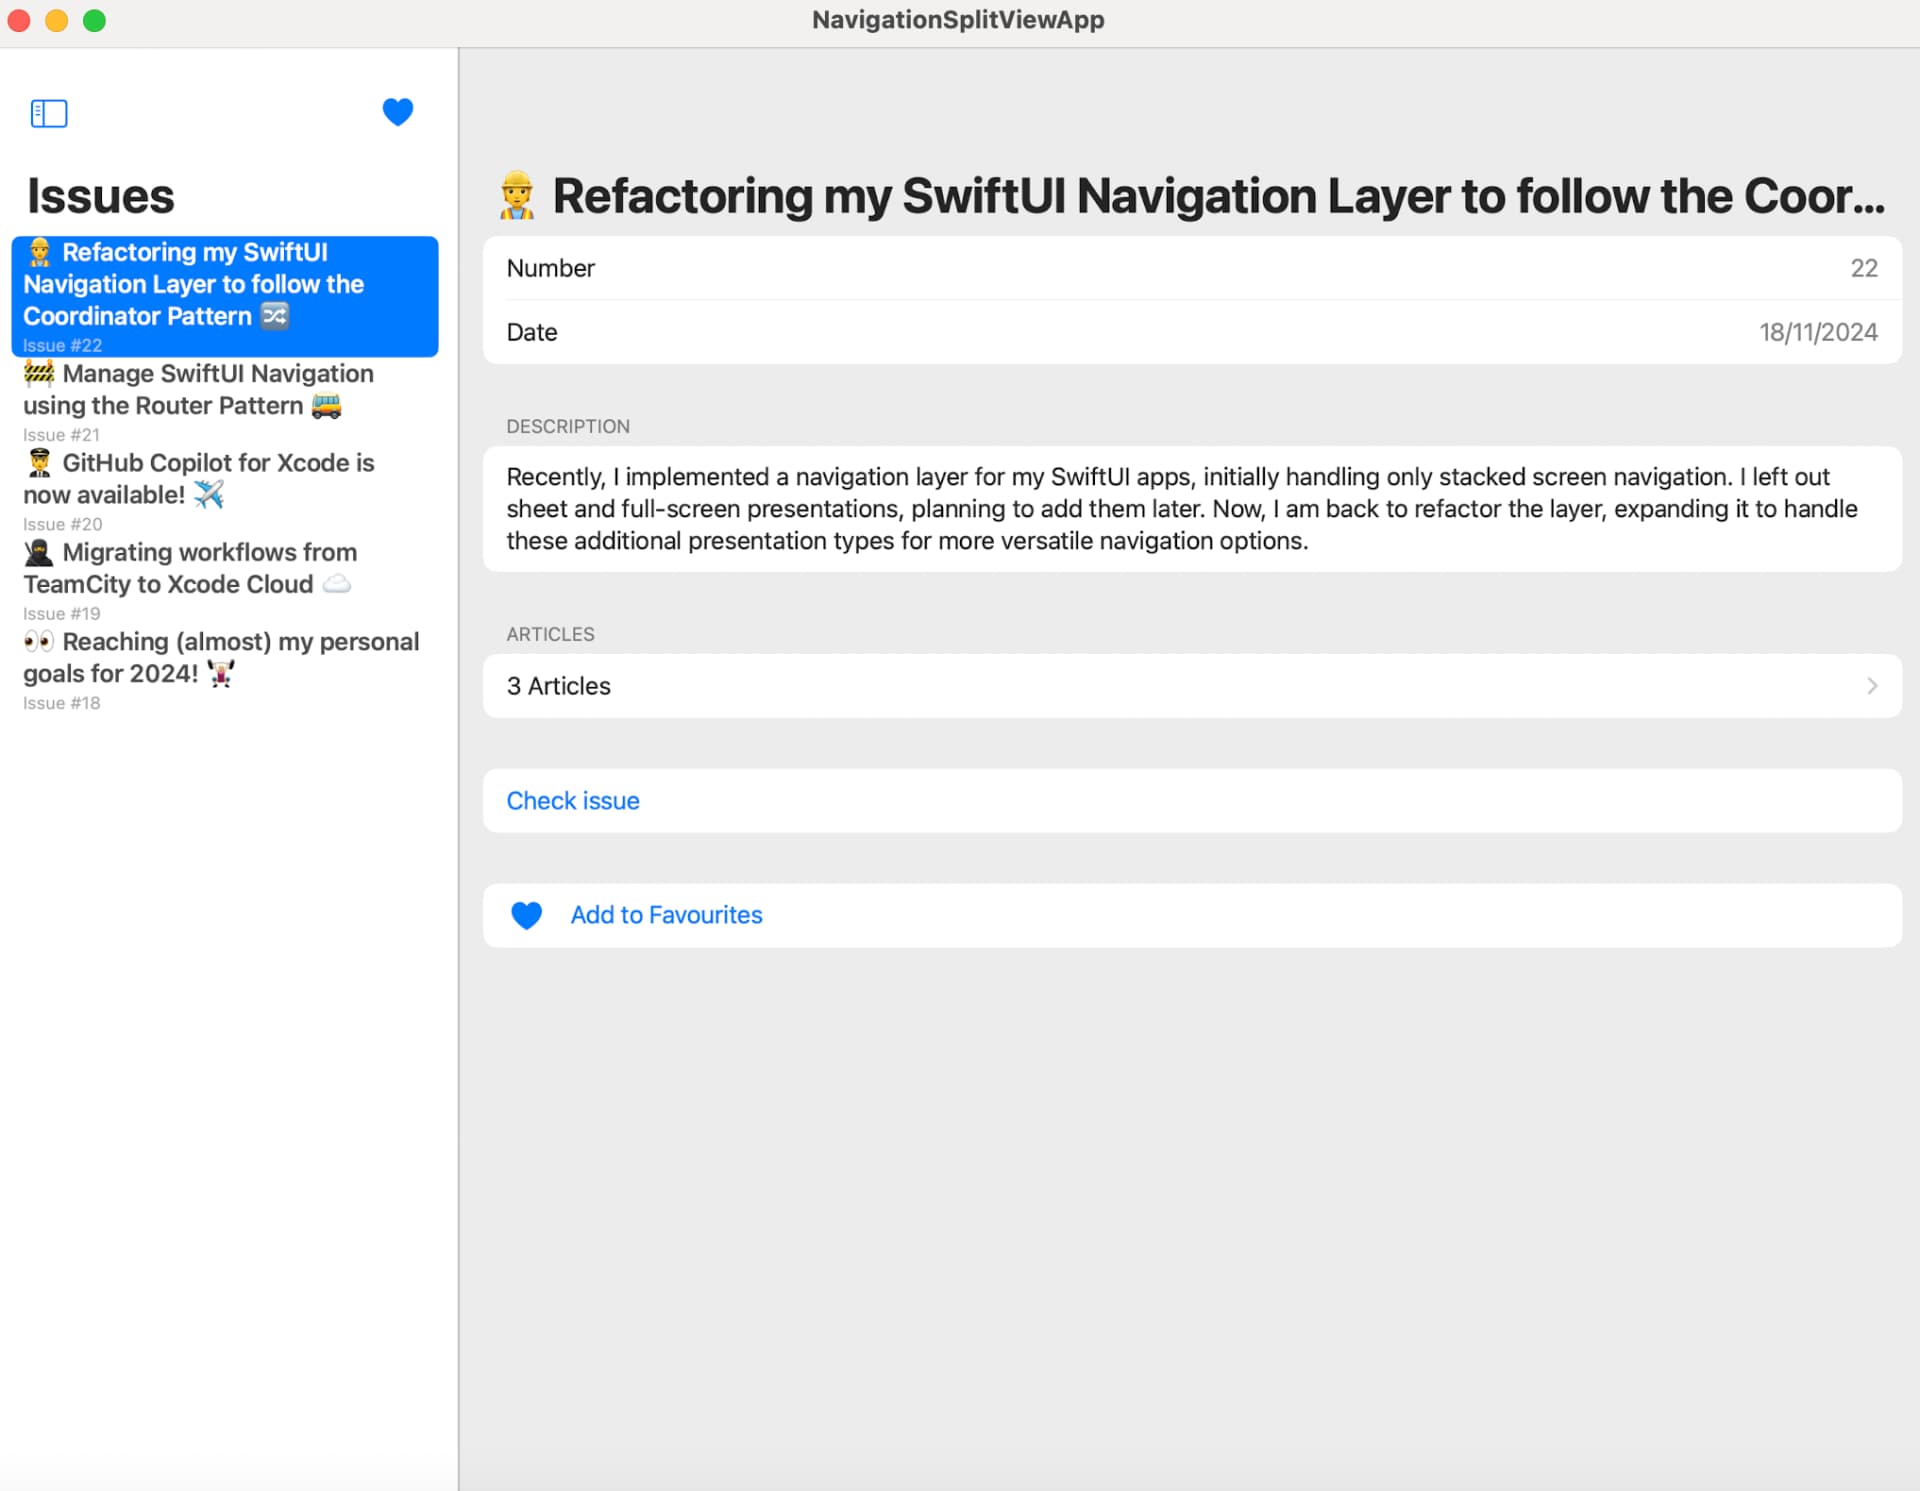
If you have been following recent issues, I built a navigation layer for SwiftUI apps. While testing my sample app in different Xcode simulators, I noticed it didn't look great on iPads or macOS!
This week, I decided to build on top of my previus work to demonstrate how simple it is to support multiple platforms with SwiftUI. For that, I tried out NavigationSplitView, a view I hadn't used before, and discovered how seamlessly it integrates with existing code, making it both intuitive and effective to implement.
This class is particularly useful for implementing sidebar support on iPads running versions earlier than iOS 18. However, for apps targeting iOS 18 or later, the new Sidebars feature is the recommended approach.
NavigationSplitView is a SwiftUI component designed to create a sidebar-detail layout, where the sidebar controls the content displayed in the detail view. This structure is ideal for apps that organize data into collections and require a detailed view for individual items, making it especially useful for iPad or macOS applications. Using this type is quite simple and intuitive.
// For two-column navigation
struct AppView: View {
    var body: some View {
        NavigationSplitView {
            // sidebar
        } detail: {
            // item details
        }
    }
}

// For three-column navigation
struct AppView: View {
    var body: some View {
        NavigationSplitView {
            // sidebar
        } content: {
            // content list
        } detail: {
            // item details
        }
    }
}
Integrating this new type was simple and seamless.
I created a SwiftUI view named SidebarView to display my list of issues, including a binding property to track the currently selected issue.
struct SidebarView: View {
    @Binding var selectedIssue: Issue?

    var body: some View {
        List(
            Issue.sortedMocks,
            selection: $selectedIssue
        ) { issue in
            NavigationLink(value: issue) {
                IssueRowView(issue: issue)
            }
        }
        .navigationTitle("Issues")
    }
}
My root view now incorporates a NavigationSplitView for an adaptive layout across various devices and screen sizes.
I also added a @State property to manage the selected issue, which dynamically determines the content displayed in the detail view.
struct AppView: View {
    [...]
    @State private var selectedIssue: Issue?

    var body: some View {
        NavigationSplitView {
            SidebarView(selectedIssue: $selectedIssue)

        } detail: {
            if let selectedIssue = selectedIssue {
                IssueView(issue: selectedIssue)
            } else {
                Text("Choose any article to view its details.")
            }
        }
    }
}
If you are only interested in the code, here is the GitHub repository.
With just a few adjustments, I was able to deliver a consistent and user-friendly interface for my sample app across iPhone, iPad and macOS. Here is the final result:
For reference, if you want to learn more about NavigationSplitView, you can check out this video from WWDC 2022 or take a look at Food Truck sample code, Apple's sample app on how to build a SwiftUI multiplatform app.
Now it is time to dive into some iOS development topics submitted by the community. Here are this week's highlighted resources. Hope you enjoy 🙌.
🤓 Impress at Job Interviews by Inspecting their App Bundle
In his article, Jacob shared a pratical technique for inspecting and analyzing app bundles. By downloading an .ipa file, converting it into a .zip file, and unzipping it, you can explore its contents.
This method can be especially useful for learning or preparing for interviews - just ensure you are ready to address questions on this topic!
🔣 Exploring SF Symbols: Where to Start and How to Use Them (Part 1)
SF Symbols have been around for some time, but with Apple introducing animated SF Symbols at this year's WWDC, Matt wrote a detailed article on the current state of these icons.
Even if you are familiar with how SF Symbols function, this article is a great refresher and might teach you something new!
🤖 Upgrade Your Pull Requests With ChatGPT
Vera shared a valuable tip this week on using AI to enhance Pull Requests. She recommends leveraging ChatGPT to create UML diagrams quickly, saving time and adding clarity to your PRs.
While I hadn't considered including diagrams in my PRs before, this approach seems practical — just make sure the diagrams are accurate and relevant!
🛡️ Private Swift Package Manager: A Better Way to Share Your Code
Ajay shared an insightful article on distributing private Swift Packages efficiently without managing individual repository access or manual framework updates.
His approach consists in a clever use of fine-grained tokens that ensures a seamless experience for users, keeps your code secure, and gives you full control — allowing token revocation or updates anytime.
🤯 New Xcode 16 Feature
Vincent recently highlighted a handy new feature in Xcode 16 that I hadn't noticed before but is sure to streamline your workflow!
You can now paste content directly into the Project Navigator, and Xcode will automatically generate a new file with an appropriate name. One caveat I observed is that imports are missing in the generated file, though hopefully, future updates will address this!


