😎 Using SwiftUI's Improved TabView with Sidebar on iOS 18 🙌

Master Multi-Platform Swift/SwiftUI Development
Build Once, Laugh Everywhere: Build a multi-platform SwiftUI app with shared code for macOS, iOS, watchOS, and widgets using a jokes API.
This message is brought to you by a sponsor who helps keep this content free for everyone. If you have a moment, check them out — your support means a lot!
Welcome to issue #34 of the iOS Coffee Break Newsletter 📬.
Our current sprint at work includes a significant revamp of our app for iPads. One of the most exciting updates is iOS 18's new TabView, which places the tab bar at the top of the screen with text-only items, while on iPhones, the traditional tab bar remains unchanged.
Beyond the visual updates, Apple has also introduced new functionality — the tab bar can now expand into a sidebar, offering a more structured navigation experience with a detailed hierarchy of items.
SwiftUI Improvements
SwiftUI introduces new capabilities for managing tabs and sidebars more efficiently:
- Simplified syntax: Use TabView with TabViewStyle to create tabs.
- Enhanced roles: Leverage special tab roles, such as .search.
The Plan
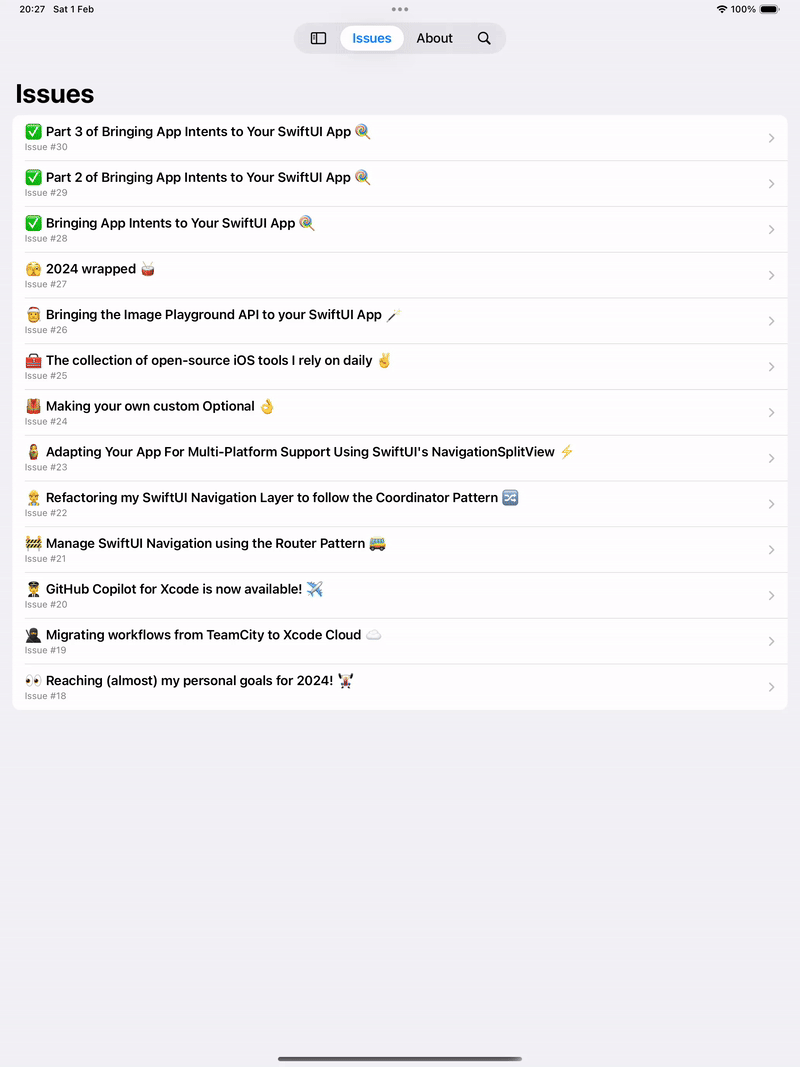
This week, I want to explore this new SwiftUI improvement and share insights into how Apple manages tab bars and sidebars with the latest SwiftUI APIs. To demonstrate, I have built a sample app of the newsletter featuring multiple tabs like "Issues", "About" and "Search". When displayed as a sidebar, these tab items become into section headings instead.

Setting Up the TabView
The AppView component is responsible for rendering the tabs.
Here you can see how the Search tab differs from the others by using a .search tab role.
enum Tabs: Equatable, Hashable {
    case about
    case issues
    case search
}

struct AppView: View {
    @State private var selectedTab: Tabs = .issues

    var body: some View {
        TabView(selection: $selectedTab) {
            Tab("Issues", systemImage: "book", value: .issues) {
                IssuesView()
            }

            Tab("About", systemImage: "person", value: .about) {
                AboutView()
            }

            Tab(value: .search, role: .search) {
                SearchArticlesView()
            }
        }
    }
}
Enabling Sidebar Toggling
To allow users to switch our tab bar into a sidebar, we need to apply the tabViewStyle view modifier to the TabView as follows:
var body: some View {
    TabView(selection: $selectedTab) {
      // tabs and sections...
    }
    .tabViewStyle(.sidebarAdaptable)
}
Here is the final result:
To explore the full implementation of the sample application, visit the repository on GitHub.
Next week, I plan to migrate this week's sample app to UIKit, leveraging built-in APIs like UITab and UISearchTab. Stay tuned for the update!
CURATED FROM THE COMMUNITY
🏠 How much architecture do you really need?
How much architecture does a SwiftUI app really need? Should we strictly follow established patterns, or is a more flexible approach better?
Recently, the debate around SwiftUI and MVVM has resurfaced, and this week, Donny shares his perspective on the topic. And what about you, do you still rely on MVVM, or have you adopted a different architectural style that works best for your projects?
🔬 Debugging An Undebuggable App
Recently, a friend from work shared with me this article by Bryce where he debugs a regular old widget app and I immediately knew that I wanted to feature it in the newsletter.
While debugging and reverse engineering aren't topics I typically cover, I highly recommend following Bryce's work if you are interested in diving deeper into these areas.
🔐 Open/Closed Principle (OCP) in Swift using Decorator Pattern
Have you heard about the Open/Closed Principle (OCP)? If not, this principle encourages building systems where new functionality can be added without altering existing code.
In this article, Arifin breaks down the Open/Closed Principle and shows how to apply it in Swift. Using practical examples, he highlights the power of the Decorator Pattern to extend behavior while keeping the original code untouched.